If you'd like to start some seeds but you've used up your supply of toilet paper/paper towel rolls and newspaper to make these seed pots, I have a solution for you. Use eggshells!
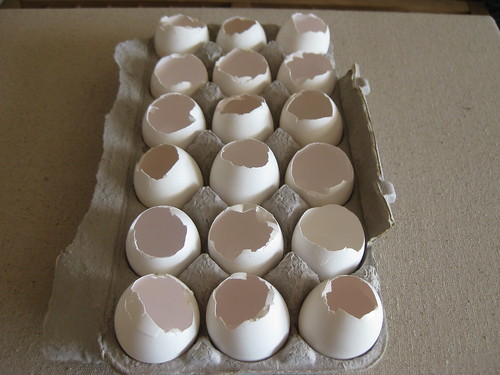
1. Start by saving all your eggshells whenever you cook with eggs. You can either crack them in half to get two shells or, like I did, remove just the top portion of the eggshell so that you have a deeper "container" for your seed. Rinse them out and let them air dry.
If you just cut the tops of the shells off, be sure to save them. They can either be ground up and added to the compost pile, or they can be broken into pieces and placed on the ground around the plant once it's in the garden. They add a little layer of protection--an eggshell moat of sorts--because many bugs don't like to climb over the sharp pieces.
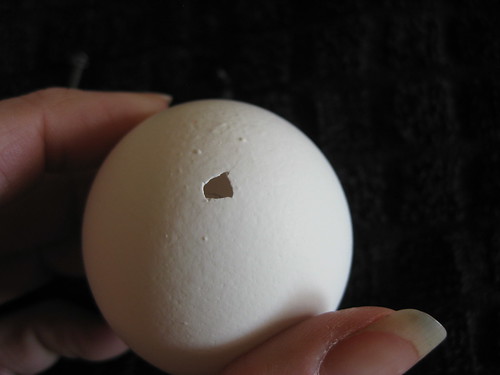
2. Poke a hole in the bottom of the shell for drainage. Because moisture won't evaporate as quickly as it will with the paper seed pots, it's important to provide drainage. After experimenting with several options, I found that the easiest thing is to set the eggshell bottom down on a folded towel (or anything soft), and then use the tip of a ball-point pen to poke a hole through the bottom of the eggshell. Using this method I didn't crack a single shell.
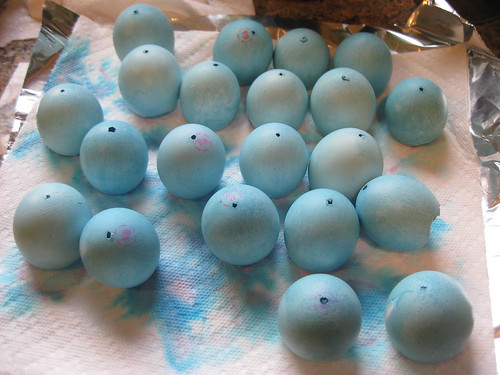
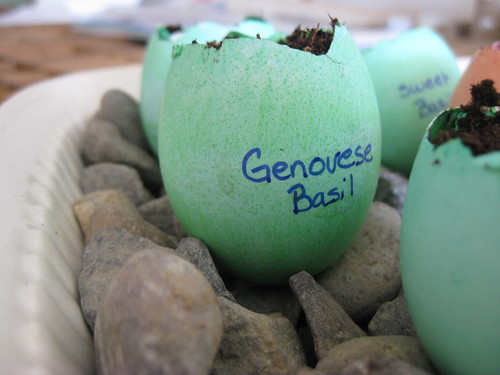
3. At this point you can either write the name of the seed directly onto the shell, or you can supersize it by dying the eggshell! I wanted red shells for my tomatoes, green shells for my basil and other herbs, and blue shells for some flower seeds.
I got an old coffee cup, added about 1 tablespoon of vinegar and about 20 drops of either red, green, or blue food coloring, and then filled the cup up with warm water. Then just dunk your shells into the cup. Leave the shells in the solution until they are as dark as you want. (Note: If you dye your shells, be careful about letting them sit in water after you've planted seeds, because the color may run a little bit.)
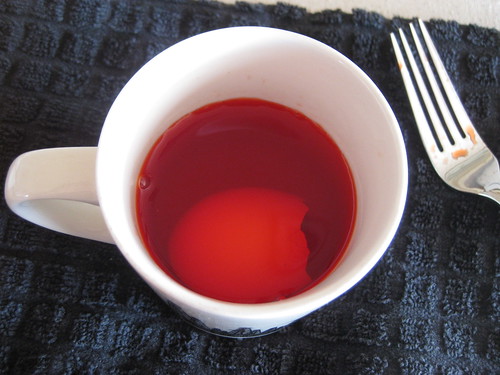
4. Remove the shell from the cup using a fork or a slotted spoon, and turn upside down on a paper towel to dry.
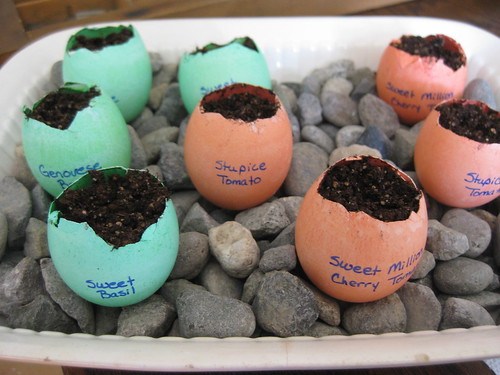
5. Label the shells (I found that it was easiest to lay the shell on its side and rest my arm on our 2-inch thick cutting board so that I could write clearly without putting pressure on the shell), fill with pre-moistened seed starting mix, and add your seed.
6. I didn't have an extra egg carton handy, so I filled a small baking dish with gravel (you could also use sand or dry rice) and nestled the shells down into the gravel so that they would stand upright.
Now sit back and let Nature do her thing. And if you start now, you can have some nice little eggshell seedlings in time to give as sugar-free gifts for Easter!
One very nice thing about the eggshells is that they don't dry out as quickly as the paper pots. I check on them every day but usually only need to water them every other day, versus sometimes twice a day for the paper pots. The downside is that they are a little bit fragile! Just be careful when you pick them up or move them. But even if they get small cracks in them, they should still last until you're ready to transplant your seedling into a larger pot.
Coming up next week, I'll have part 2 of Composting 101: Soil Preparation, including some information on lawns for Sandy C!


You are going to turn all of us into successful gardeners with your good ideas. Practical, but cute egg pots.
ReplyDeleteWow, what a a great idea for gifts!
ReplyDeleteGood idea! we go through a ton of eggs here!
ReplyDelete