I've been so busy with Lachlan and entertaining friends, family, and my visiting mom (who is a first-time Grammy!) that I don't have many exciting things to report here. So I thought I'd take this time to finally get around to showing you some of the before and after photos of our remodel.
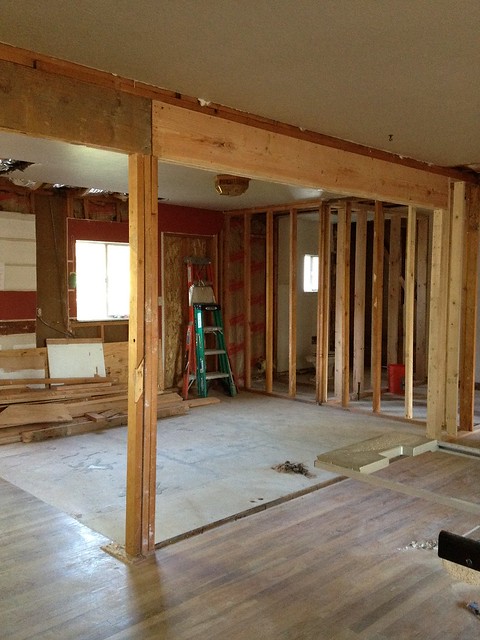
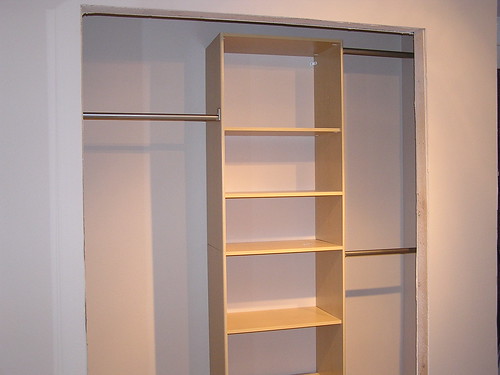
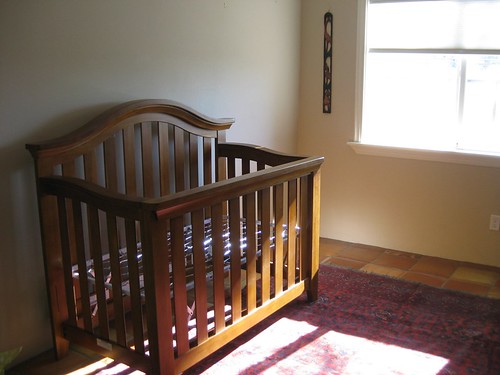
We worked on our kitchen first, in the fall of 2007. We ripped everything out, reconfigured the layout, walled off the pantry to give more closet space to Lachlan's room on the other side of the wall, added a window on the far west-facing wall, removed a wall separating the kitchen from the living room, and added a large breakfast bar that has become the main gathering place for us and visitors.
The kitchen is basically done at this point except we still need to install the trim pieces at the bottom of the base cabinets. I took the "after" photos on the morning I left to have Lachlan. I knew it would never be this clean again, so I had to get some photos!
The kitchen is at the front of the house, to the right as you walk in the front door. We talked for awhile about moving it to another part of the house, but the house sits on a cement slab and the thought of having to cut up all the concrete to run new water and drain lines wasn't very appealing. So we decided to leave it where it is but try to make the most of the situation.
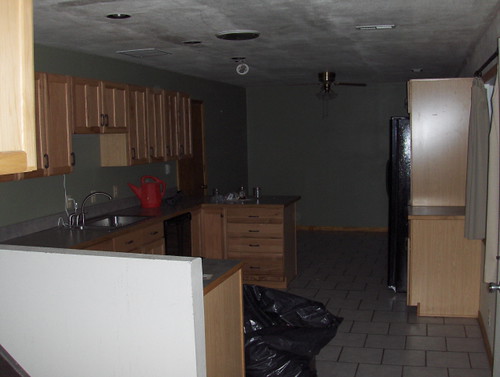
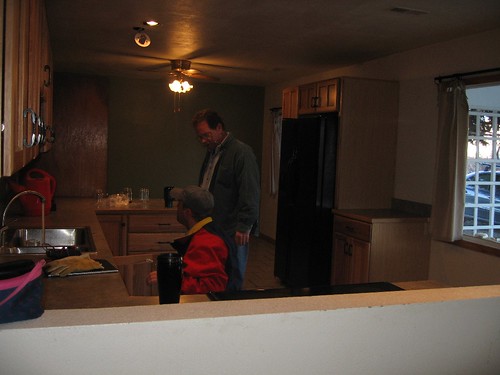
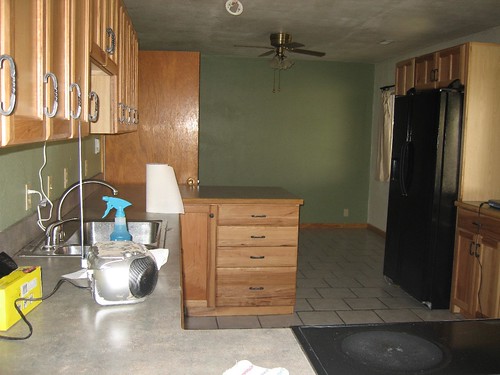
The old kitchen cabinets and appliances used to be right in front of you as you walked into the house, with a small dining area at the back. The kitchen was painted a dark sage green and was really, really dark.
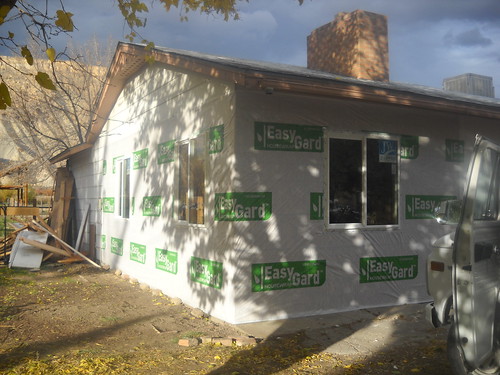
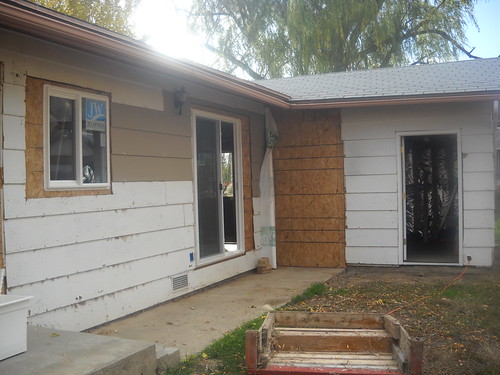
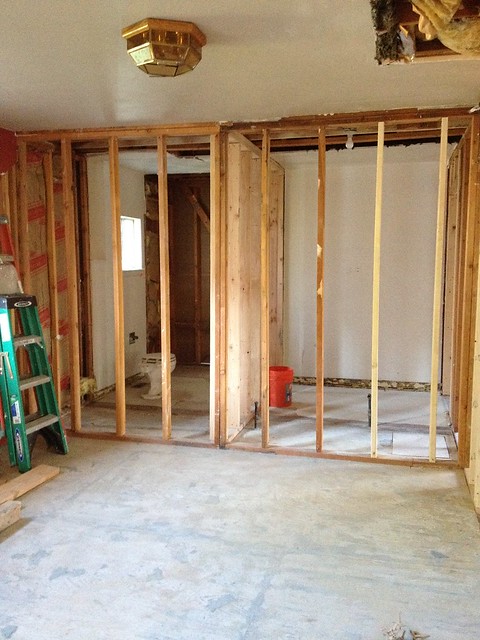
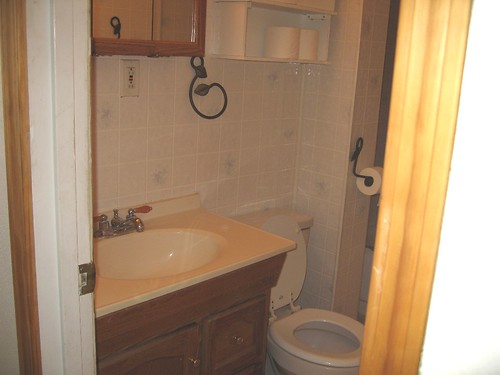
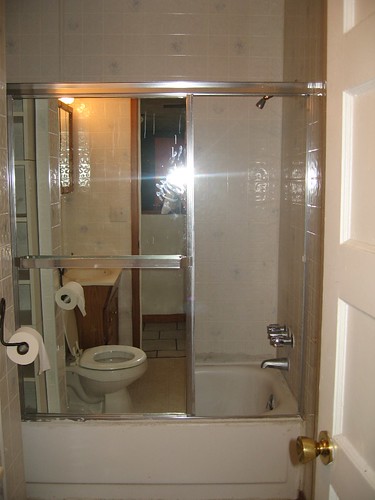
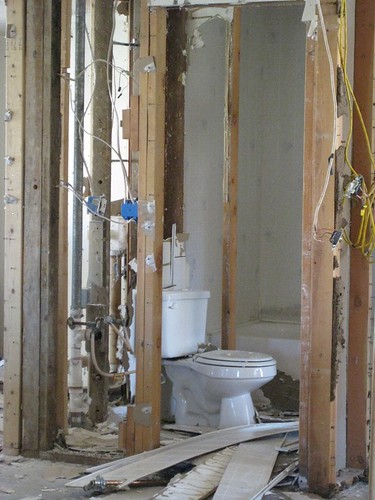
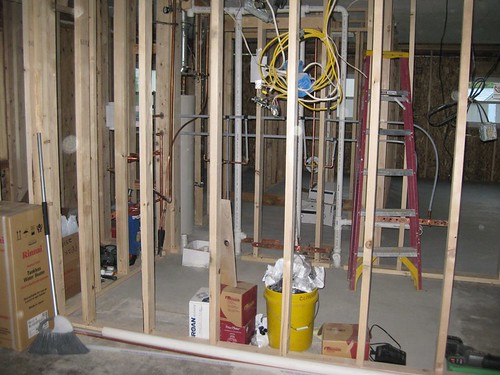
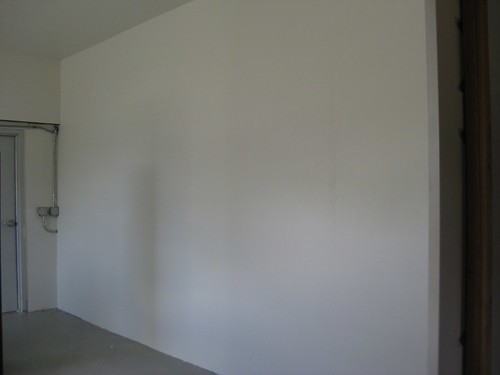
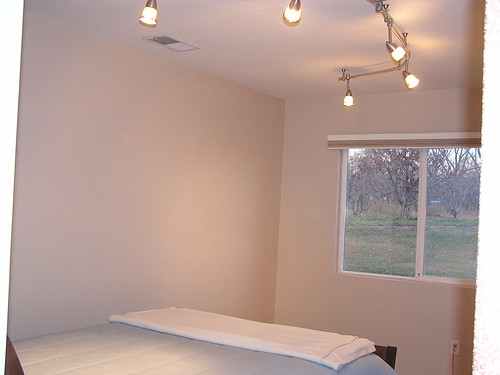
Before:
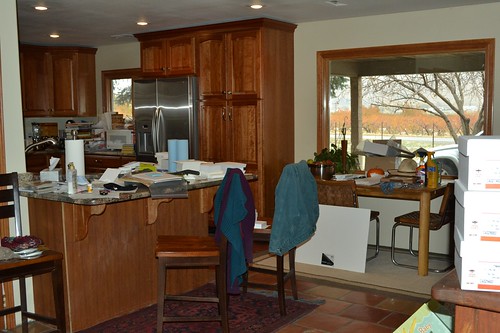
After:
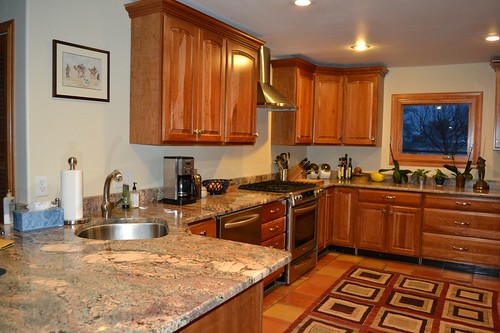
We pushed all the cabinets and appliances to the back of the space in a U-shaped configuration. We also added a window to the back wall, which is the single best decision we made in the entire house. Now we can sit at the breakfast bar and watch the spectacular sunsets out that window.
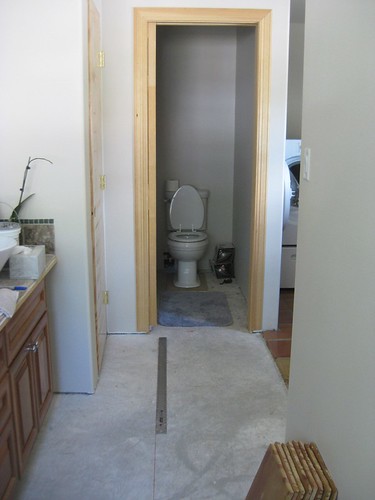
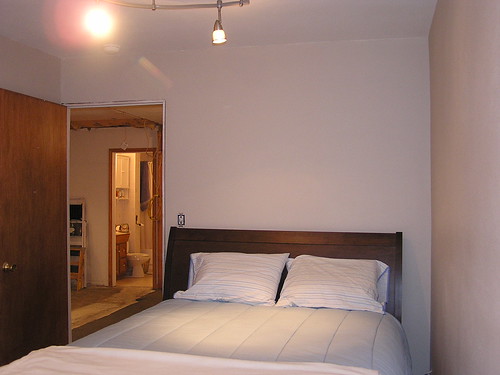
Before:
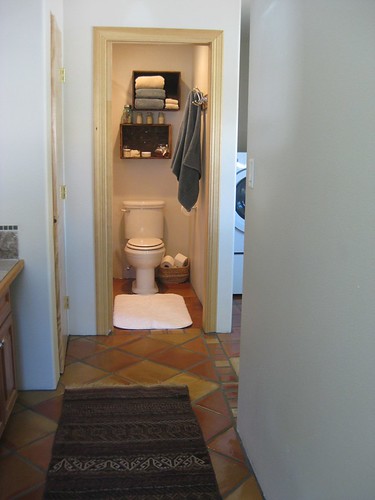
After:
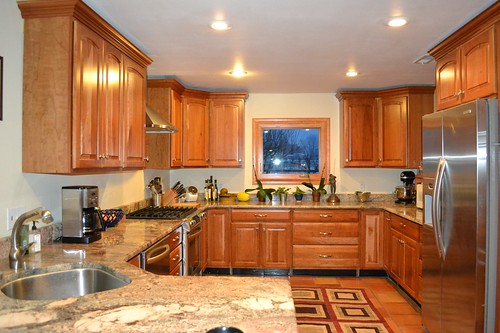
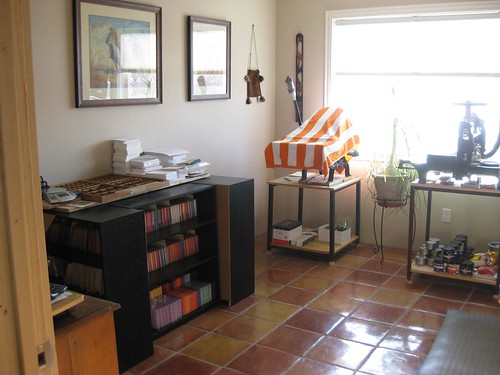
We replaced the white ceramic tiles and dark green paint with saltillo tile and a paint color called Tan Wrap that has been described by some as the color of vanilla ice cream. We installed lots of recessed lights in the ceiling (I hate a dark kitchen) and ran electrical wires to add under-cabinet lighting at some point in the future. The light maple cabinets were replaced with cherry cabinets with a light finish. The addition of that huge pantry is the second best decision we made! Finally, we replaced the gray formica countertop with a granite that is cream, peach, and gray, with splashes of a burgundy color.
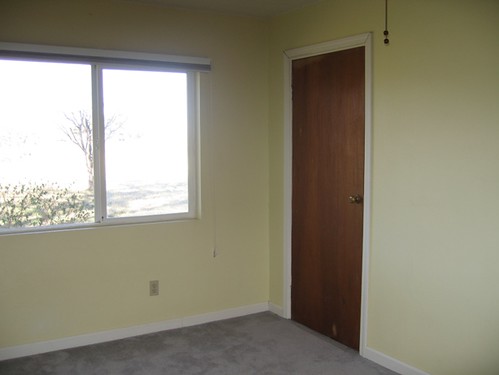
Before:
After:

I'm super happy with how the space turned out, and it's the one space that consistently gets the most compliments from people.