Showing posts with label craft project. Show all posts

Wednesday, October 31, 2012

Christmas decorations

I'm the person who walks into a store in October and becomes almost overwhelmed by my irritation with the number of Christmas decorations already in the stores. And yet, here I am today, decorating my house for a photo shoot I'm planning for my Christmas items. Crazy! And what's worse is that I'm waaaay behind on doing this. Ack.

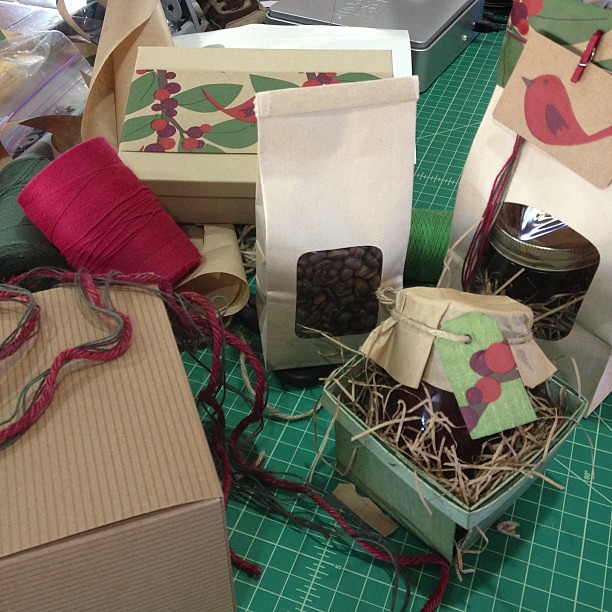
The past few days have been spent in a major crafting frenzy as I decorate packages in (what I hope is) unique and creative ways using the wrapping papers and other items in the shop.
Major craft party going on, decorating packages for photo shoot #holiday #Christmas #giftwrap
I hope to show people how to stretch their dollars this year by using regular old tissue and wrapping paper in fun and unexpected ways. I'm pretty delighted with some of the things we've come up with, and I can't wait to show them to you!

In the meantime, here's how things are starting to look.
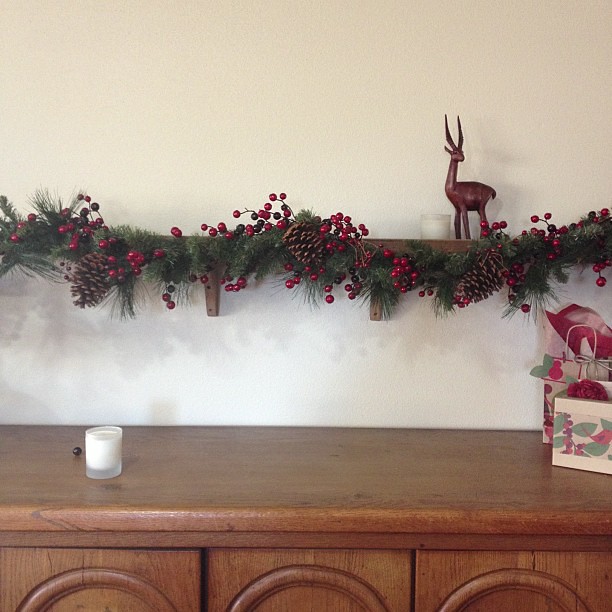
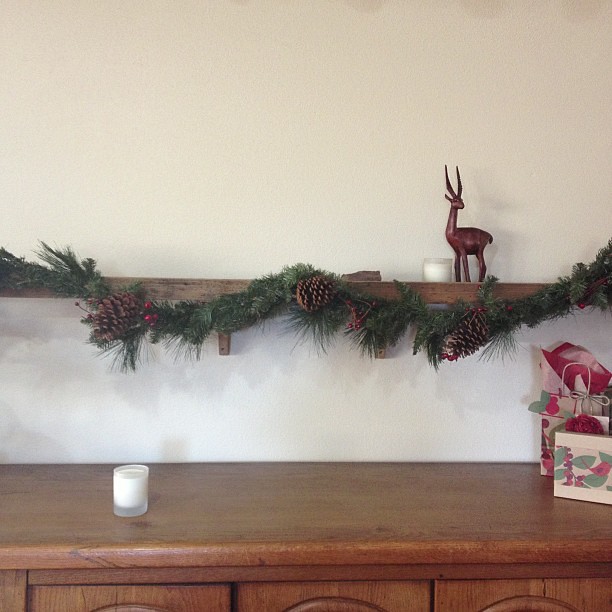
Stage 1. Pinecone garland: Starting to decorate for photo shoot later tomorrow! #christmasdecorations
Stage 2. Berry garland addition: Phase 2 complete and berry garland is up! #christmasdecorations #garland
Now it's back to work on the setup!

Tuesday, November 2, 2010

Vote!

You must get out and vote today, because today is your chance to help determine the balance of power.

And no, I'm not talking about the House and Senate. I'm talking about Master Pumpkin Carver bragging rights in this household!

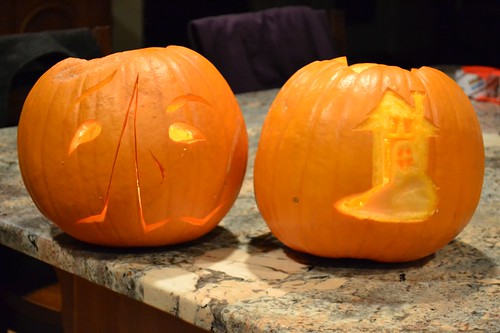
Which is your favorite? The face on the left, or the house on the right?

Halloween 2010-1

Here they are again with candles glowing in them.

Halloween 2010-2

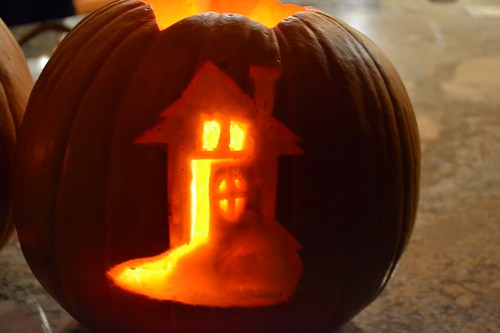
Here's a close-up of the house, in case you wanted a better look at it.

Halloween 2010-3

So, which is your favorite? The face? Or THE HOUSE? Please vote! Oh, and be sure to vote in those other elections today, too!

Friday, October 15, 2010

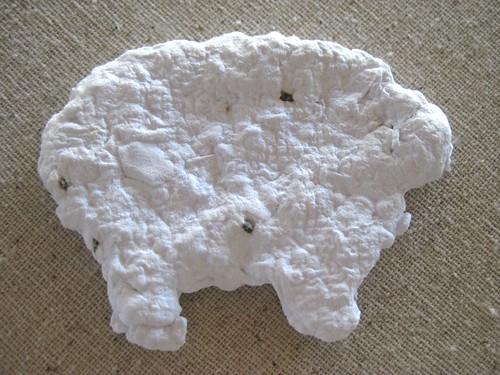
Flock of seed paper sheep

First I wanted to say hello to everyone visiting here for the first time from Linda's fabulous blog. Welcome!

Today I wanted to show you the result of a project that's been in the works since early this spring! A crafty friend of mine, Kelly, raises sheep in Maryland, and earlier this spring she sent me a link on how to make paper from scraps of paper. What a neat idea, considering that my letterpress operation often generates piles of scraps of paper after trimming items down to size.

Then in May I attended a wedding where the favors were handmade paper in the shape of butterflies with embedded flower seeds. Kelly's birthday is in June, so I launched a plan to make seed paper in the shape of sheep, packaged with a letterpress printed tag, that I could send to her to then use as gifts or to market her sheep.

Fast forward four months in which I tested various seeds and sheep-shape cookie cutters, and I finally (!) was able to send her the first the first small flock of seed paper sheep this week! I hope she likes them. :)

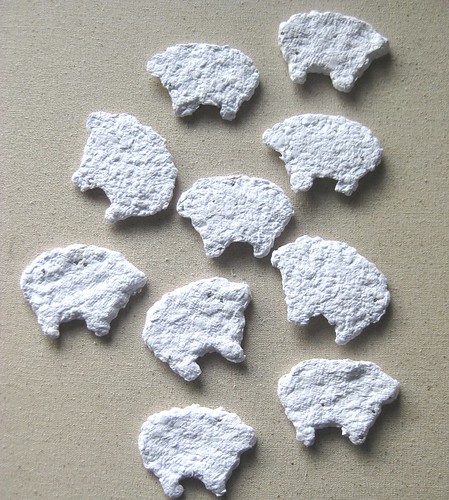
Flock of seed paper sheep

The sheep are made out of 100% cotton paper scraps leftover from printing projects, and they are embedded with sweet basil seeds.

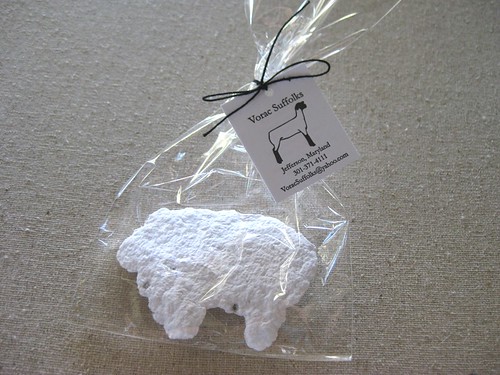
Seed paper sheep

Each sheep is packaged in a clear plastic sleeve tied with a piece of black cotton string.

Seed paper sheep packaging

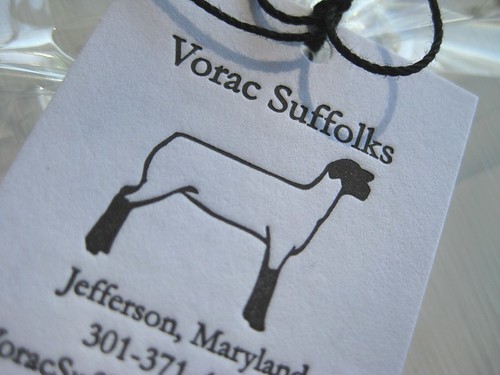
Attached to each sheep is a letterpress-printed label. The front of the tag gives her farm information and includes a suffolk sheep.

Sheep tags

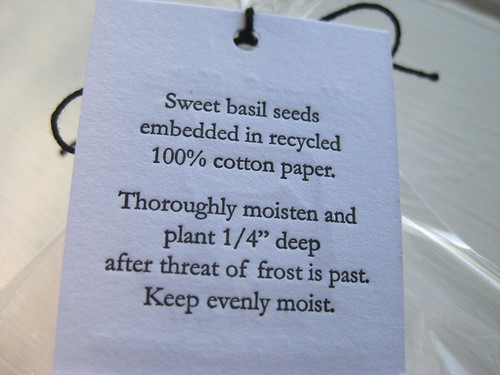
The back of the tag provides instructions on how to plant the seed paper.

Seed paper instructions

I was able to make about 40 sheep for this flock, which Kelly will give to the lucky folks who stop by her place during this fall's famers' markets and farm tours, and I plan to make more in the next few weeks for her to use as gifts for 4-H kids who bought club lambs from her this year.

In case anyone is interested in their own flock of seed paper sheep (or any other animal), I'll post a tutorial for it next week. Have a happy weekend!

Wednesday, October 6, 2010

Pegboard

Back when the girls were small, they lived in a cardboard box in our bathroom. They quickly outgrew that, but their chicken house wasn't ready, so the husband bought a 4x8 piece of pegboard from Home Depot for about $6, cut it into four pieces, and wired the ends together to form a temporary chicken coop in our workshop.

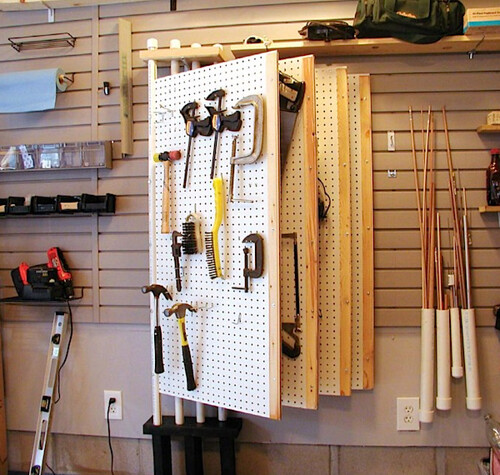
Now that the girls have moved into their luxurious accomodations, I have four pieces of pegboard that need a new home. I'm thinking of sprucing them up with some paint and hanging them on this long wall in the studio, between the top of the base cabinets and some upper shelves I plan to install.

New letterpress studio

I've been searching through Google images looking for ideas and inspiration, and here are a few of my favorites (shame on me for not saving their original link!). Have any of you used pegboard to organize your stuff? I'd love to see what others have done!

ss_101014779_thumb[2]

ss_100091212_thumb[2]

Pegboard organization

toolzinebill

And in the world of freaky coincidences, I see that someone else has this same idea today! I guess printers' minds think alike. :)

Friday, October 1, 2010

Goober's book of life advice

In the month of September, I had three baby showers, two of which were total surprises. (And I'm not just saying that to make the hosts feel good; I really had no idea!!)

While in Baltimore last weekend visiting friends, my two friends AJ and Becky hosted a shower for me, complete with handmade African animal decorations. The favors were little bags of Goobers (chocolate covered peanuts)! :)

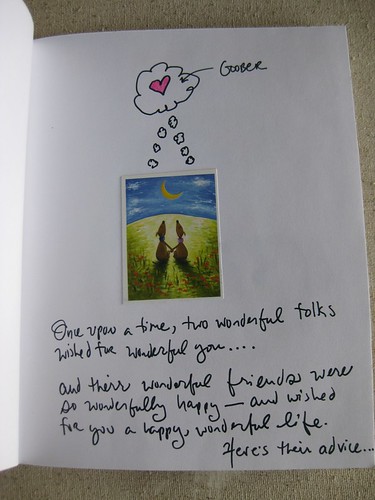
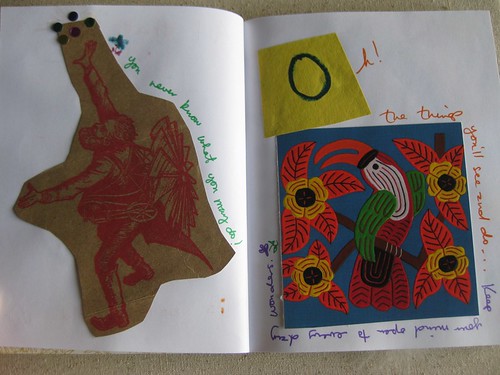
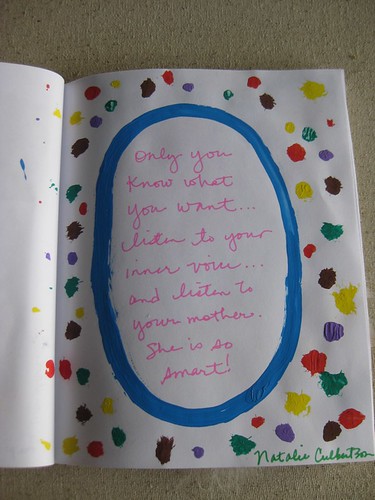
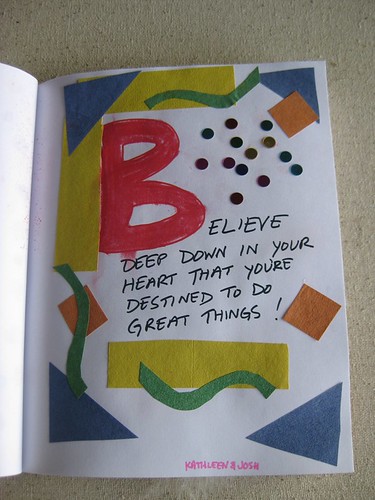
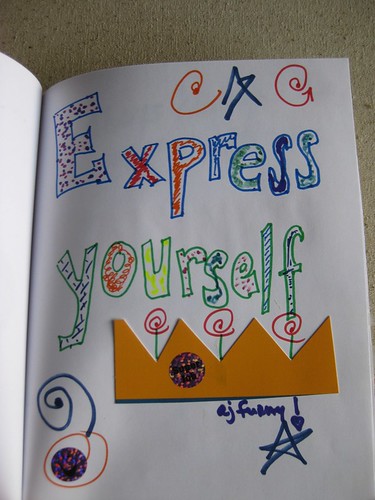
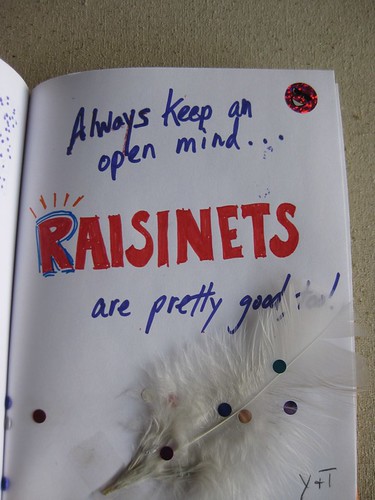
We got some fantastic goods from my friends, but the one thing I (and Goober, hopefully) will always treasure is this book they made for me. Each person/couple chose one of the 6 letters from "Goober" and wrote their advice, emphasizing the letter they had. Becky had a great craft station set up for folks to decorate the pages of the book.

Here's their advice:

IMG_8751

IMG_8752

IMG_8753

IMG_8754

IMG_8755

IMG_8756

IMG_8757

IMG_8758

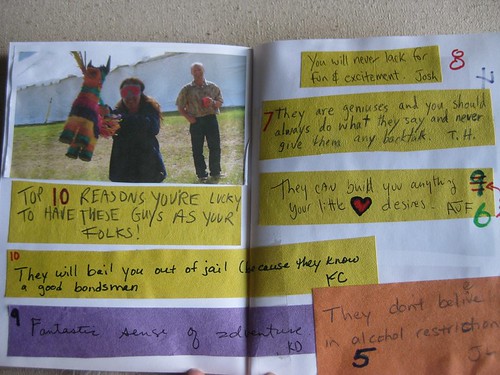
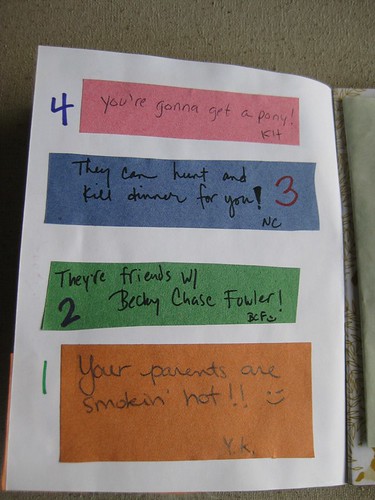
At the back of the book is a photo of me and the husband (the day after our wedding, when many of my friends came back to my parents' house and we beat the snot out of the pinata that had been intended for the kids at the wedding!), and each of my friends wrote one of the top 10 reasons why Goober is lucky to have us as parents. Becky placed them in a paper bag and I randomly picked them to determine the order of the top 10:

IMG_8759

IMG_8760

Note that #4 will likely fall under the category of "Top 10 reasons why Goober is lucky to have Grandpa Jack!

Friday, March 12, 2010

Eggshell seed pots

How is the green-thumb crowd doing out there? Has anyone started any seeds yet?

If you'd like to start some seeds but you've used up your supply of toilet paper/paper towel rolls and newspaper to make these seed pots, I have a solution for you. Use eggshells!

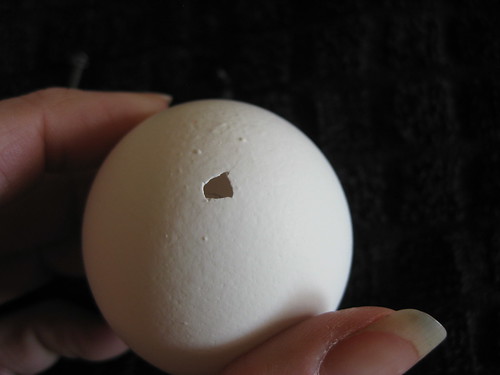
1. Start by saving all your eggshells whenever you cook with eggs. You can either crack them in half to get two shells or, like I did, remove just the top portion of the eggshell so that you have a deeper "container" for your seed. Rinse them out and let them air dry.

If you just cut the tops of the shells off, be sure to save them. They can either be ground up and added to the compost pile, or they can be broken into pieces and placed on the ground around the plant once it's in the garden. They add a little layer of protection--an eggshell moat of sorts--because many bugs don't like to climb over the sharp pieces. 

Eggshell seedlings (3)

2. Poke a hole in the bottom of the shell for drainage. Because moisture won't evaporate as quickly as it will with the paper seed pots, it's important to provide drainage. After experimenting with several options, I found that the easiest thing is to set the eggshell bottom down on a folded towel (or anything soft), and then use the tip of a ball-point pen to poke a hole through the bottom of the eggshell. Using this method I didn't crack a single shell.

Eggshell seedlings (7)

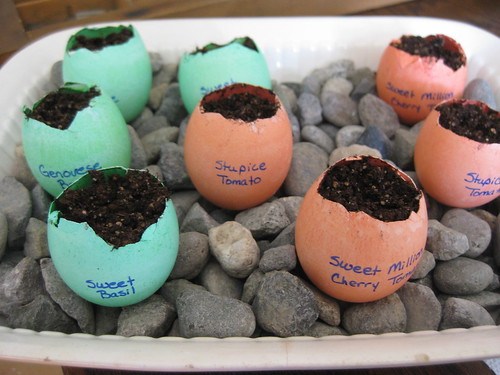
3. At this point you can either write the name of the seed directly onto the shell, or you can supersize it by dying the eggshell! I wanted red shells for my tomatoes, green shells for my basil and other herbs, and blue shells for some flower seeds.

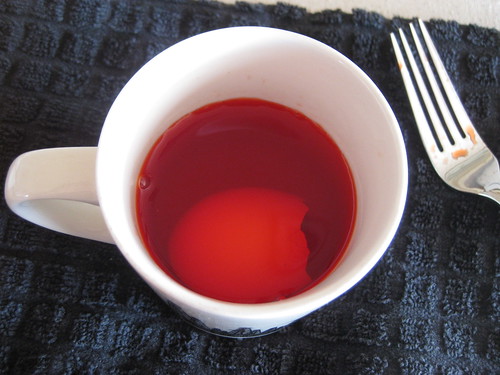
I got an old coffee cup, added about 1 tablespoon of vinegar and about 20 drops of either red, green, or blue food coloring, and then filled the cup up with warm water. Then just dunk your shells into the cup. Leave the shells in the solution until they are as dark as you want. (Note: If you dye your shells, be careful about letting them sit in water after you've planted seeds, because the color may run a little bit.)

Eggshell seedlings (8)

4. Remove the shell from the cup using a fork or a slotted spoon, and turn upside down on a paper towel to dry. 

IMG_6896

5. Label the shells (I found that it was easiest to lay the shell on its side and rest my arm on our 2-inch thick cutting board so that I could write clearly without putting pressure on the shell), fill with pre-moistened seed starting mix, and add your seed.

004

6. I didn't have an extra egg carton handy, so I filled a small baking dish with gravel (you could also use sand or dry rice) and nestled the shells down into the gravel so that they would stand upright.

002

Now sit back and let Nature do her thing. And if you start now, you can have some nice little eggshell seedlings in time to give as sugar-free gifts for Easter!

One very nice thing about the eggshells is that they don't dry out as quickly as the paper pots. I check on them every day but usually only need to water them every other day, versus sometimes twice a day for the paper pots. The downside is that they are a little bit fragile! Just be careful when you pick them up or move them. But even if they get small cracks in them, they should still last until you're ready to transplant your seedling into a larger pot. 

Coming up next week, I'll have part 2 of Composting 101: Soil Preparation, including some information on lawns for Sandy C!

Monday, March 1, 2010

Two-hour hat

I attended my second knitting class on Saturday. It was for a "Two-hour hat." Mine took three hours, but let's not split hairs, OK?

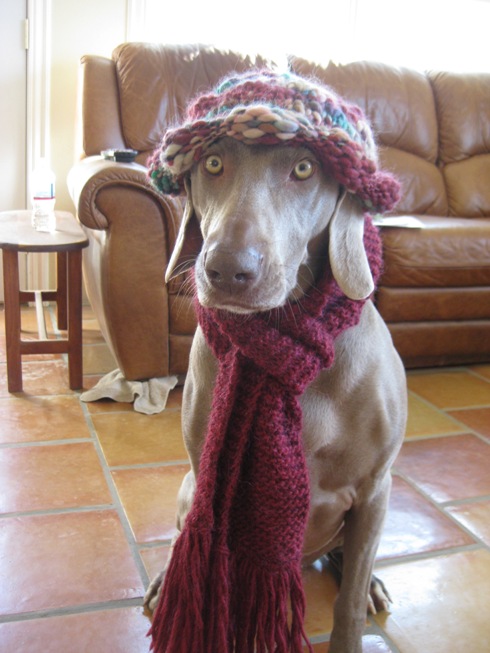
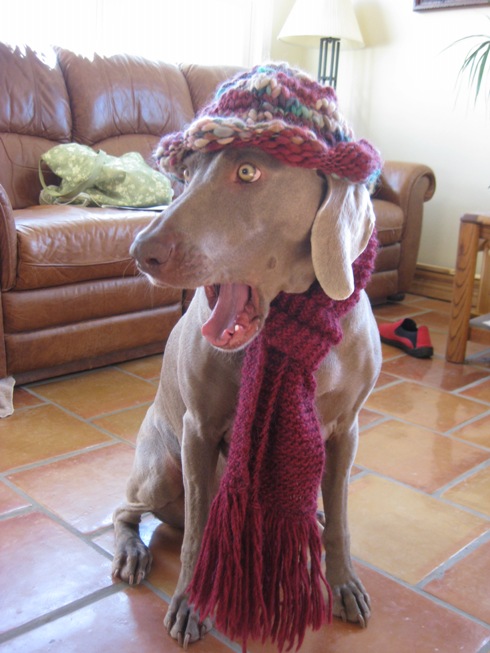
Sadie graciously agreed to model it.

Hat

I love this picture. I think she's imagining herself at a sidewalk cafe somewhere in Paris.

Hat5

Hat4

Hat3

She did good for awhile, but then got pretty bored with the whole ordeal.

Hat2

Thursday, February 25, 2010

Tote bag sewing project

How gorgeous is this bag made from an old curtain? Jessica over at How about Orange is awesome.


See her post for a link to a tutorial on how to make one of these. I can't wait to get to the part of my list of things to do this year that involves learning how to sew. I'll have to keep an eye out for cool old curtains...

Thursday, February 18, 2010

Seed pot tutorial

I had a request for directions on how to make the seed pots, so here you go:

Toilet Paper/Paper Towel Roll Seed Pots

1. Get a pair of scissors and as many toilet paper or paper towel rolls as you can find.

2. Flatten the roll in half lengthwise, then fold in half again, so that there are four folds along the length of the roll.

3. Cut the roll in half (for paper towel rolls, cut the roll into five sections).

4. With your scissors, cut along the four fold lines on one side of the roll. Make the cuts about 1/2 to 3/4 inch long.

5. Fold each flap of the roll in, one at a time.

6. Tuck the last flap under the first flap to secure it, the way you would close a box top.

7. Label the pots (if desired).

TP Roll Seed Pot Tutorial

Fill the pots with moistened seed starting mix and add your seeds.

2010 seeds grp 1_peppers 004

Newspaper Seed Pots

1. Gather up some whole newspaper sheets (one page) and any container with straight sides and an open mouth. Avoid newspaper with color photos or shiny paper. I was out of paper so I went to the bookstore. The New York Times was one of the best papers for having the smallest number of color photos. If you can get the Sunday edition, you can probably make an army of pots!

Select a container based on the size pot you want to make. I wanted small pots the approximate size of the toilet paper roll pots, so I used a small (approximately 1 ounce) spice jar. When I'm ready to transplant seedlings into larger pots, I'll use a large drinking glass or a 1- or 2-liter plastic bottle.

2. Fold the paper in half lengthwise and smooth the crease.

3. Fold in half lengthwise again.

4. On the creased edge of the paper, create a small "lip" for the pot by folding the paper about 1/2 inch. (This makes it look a little nicer and adds some extra stability to it). Smooth the crease.

5. If you're using larger newspaper sheets and making smaller pots, you can cut the newspaper sheet in half, which will give you about two layers to your pot. If you prefer a very sturdy pot with several layers of paper, you can use the whole sheet.

6. Place the paper on a work surface with the "lip" of the pot (see step 4) facing down and pointing toward the bottom of the container. Position the top of the container approximately in the center of the paper.

Newspaper Seed Pot Tutorial1

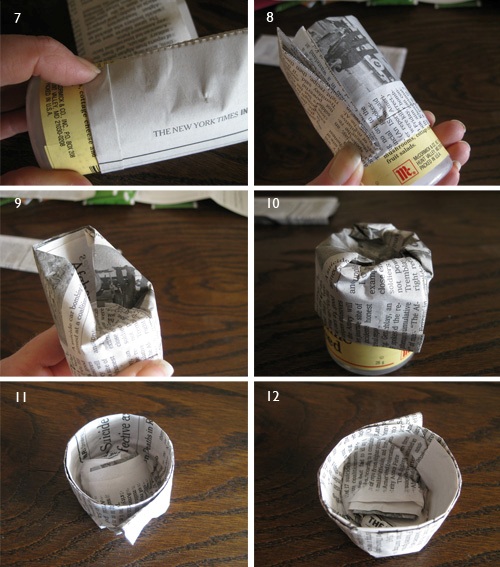
7.  Begin rolling the paper as snugly as you can around the container. Notice that the lip of the pot is on the outside.

8. Continue rolling the paper around the container until you reach the end of the paper. Use your finger to hold the paper securely in position.

9. Beginning with the side of the pot with the end of the paper, push the paper into the open container. Don't worry about being perfect. Just cram it in there.

10. Move around the pot, pushing the paper into the opening of the container.

11. Carefully pull the pot off the container. The bottom of the pot will be sticking up inside the pot a little bit. It's a little hard to see in the photo, but the bottom of the pot is sticking up about 1 inch.

12. With the bottom of the pot on a solid surface, use your fingers or the bottom of the container to carefully push the bottom of the pot down.
Newspaper Seed Pot Tutorial2

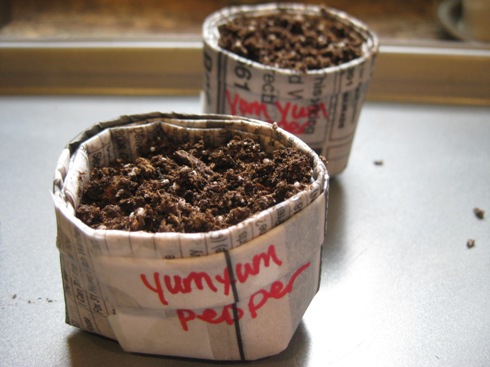
Label the pots if desired, fill them with moistened seed starting mix, and add your seeds.
2010 seeds grp 1_peppers 003

I line up all the pots according to the seed type and place them on an old cookie sheet. I cover them with a piece of plastic wrap to keep the humidity high until the seeds sprout. For the peppers, I also place the cookie sheet on an electric heating pad set on low to help them germinate. They like to be warm and snuggly!

Good luck in your seed starting adventures. I'd love to hear what you grow and how many pots you make. And be careful, making these little pots is strangely satisfying and quite addicting!
Thursday, February 11, 2010

Scarf model

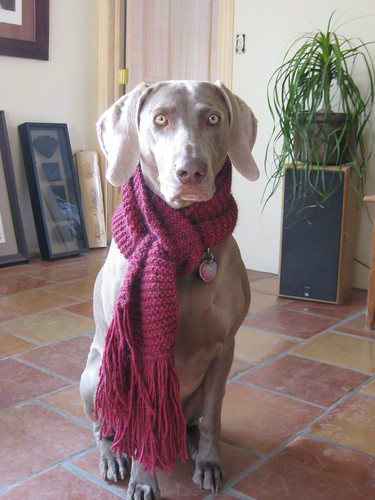
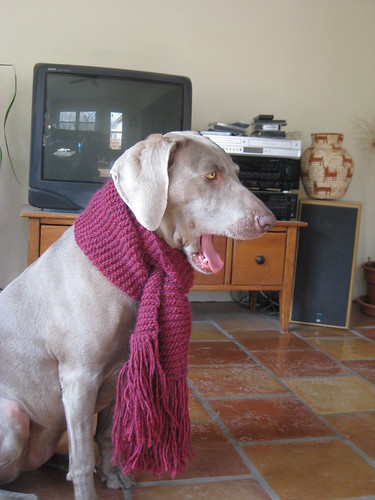
I finished my scarf at knitting class last night. Today Sadie agreed to model it.

Knitting 023

But she had a hard time hiding her boredom and couldn't stop yawning.

Knitting 027

Knitting 025

Knitting 018

Well, I assume she was yawning and not acting like the scarf made her want to barf...

I think it was less than five minutes between when I tied the last piece of fringe onto the scarf and when I was at the counter buying new yarn. The instructor had on such a pretty loosely knitted shawl, I somehow decided I couldn't live without one.

As soon as I got home from class I started on it. I was in the middle of one of the rows when the husband came home. The moment the husband gets home is the best moment in Sadie's day. She goes beserk. They have a little routine where she sits in front of me, facing him. Then she stands up on her back legs and sort of punches the air with her front legs. She likes to have me nearby because she often loses her balance! Then she sort of runs at him and punches him in the chest with her front legs. They wrestle for a bit on the ground, she gets loose and runs to me ('cuz I got her back), and then he stays crouched down on the ground and she dives in for the "kill," which, in this case, is the mother of all wet willies. It's hysterical, and one day I'll have to figure out how to get it on video.

But I said all that to say that when the husband came home, I was knitting and I didn't want to quit in the middle of a row. So I continued knitting. Sadie was so wound up because I wasn't there as her backup that she came running over and grabbed the ball of yarn (like the yarn thief that she is!) and took off. I was running around the house after her, trying to keep the yarn from being pulled off the needles, and the husband was practically rolling on the ground laughing. He finally managed to get the yarn out of her mouth, but not before it got quite a bit of dog spit on it. Thankfully I didn't lose a stitch in the whole fiasco!
Knitting 032

Friday, February 5, 2010

Knitting and knitting and knitting and knitting...

Years ago when I took my first knitting class, a couple of brave friends were right there beside me. All of my friends are funny, but one is particularly funny and can do great voices. She used to repeat that great line from Pee-Wee's Big Adventure (voice and all):

"The mind plays tricks on you. You play tricks back! It's like you're unraveling a big cable-knit sweater that someone keeps knitting and knitting and knitting and knitting and knitting and knitting and knitting..."

Well, that's how I feel right now! I took the first part of my refresher knitting class on Tuesday, and I'm happy say that it came back to me quickly! Now I have almost 1.5 feet of my scarf finished and I'm on a roll. I can't wait to finish this project at next week's class. And my mind is already overloaded with all the projects I can do.

This post today over at design*sponge by the ladies at bbbcraft just added fuel to the fire. Seriously! How cute are these??

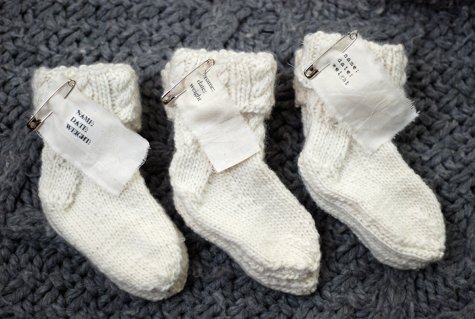
Totally adorable baby socks. I am obsessed with baby socks. The only thing in the world cuter than a baby sock is a puppy. But baby socks won't eat your shoes!

knitted baby socks

How do you get away with giving baby socks to a new dad? Just put it in a cigar box. Awesome idea.

baby socks in cigar box

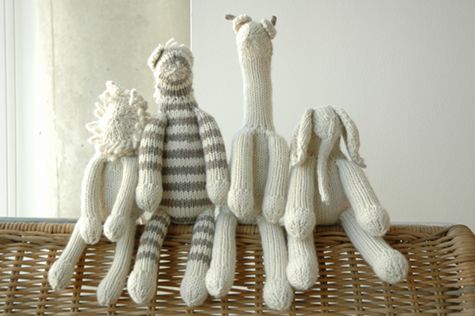
And these little guys?

knitted baby animals

They're adorable. They have tails! I think I'm going to make a set for myself.

knitted baby animals 2

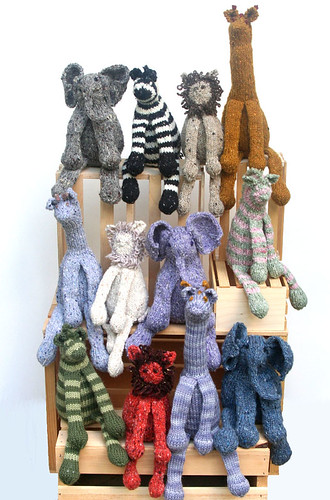
You can get the pattern for the animals at Knitting at Noon. Look how cute their animals are!! I just love the elephants' ears.

safarifriends

LinkWithin


The Handwork Chronicles | Template By Rockaboo Designs | 2012